It is really important to ensure that the buck is perfect and free from imperfections. The final finish of the buck will be directly reflected in the mould, so to ensure the best finish of the final product allot of time needs to be invested early on.
Once the buck was finished it was then fixed to a flat board. As this is going to be a split mould a centre plate had to be fixed to the buck to create the flange necessary for joining the two parts of the mould together. it is very important that this is fixed directly down the middle of the buck, if it sits either side the mould will not release due to the angles involved. Plasticine was then used to fill any gaps.


Once the buck was finished a number of layers of wax were applied. So people rave on about specialist release wax, it is really not needed. I picked up a tube of natural bees wax from tool station ( I seem to live in that shop!) it came to around £2.50.

The final stage is a secondary mould release, again you can go and buy expensive PVA ( Polyvinyl Alcohol, not pva glue) or alternatively you can use maximum hold hairspray which even comes in its own spray can. 2- 3 coats of hairspray and your good to go!

Once the hairspray has dried, the first stage of laying up the mould can be carried out. The first thing was to put a heavy coat of gel coat onto the buck, then once that has stareted to to cure you can layup the fibreglass.


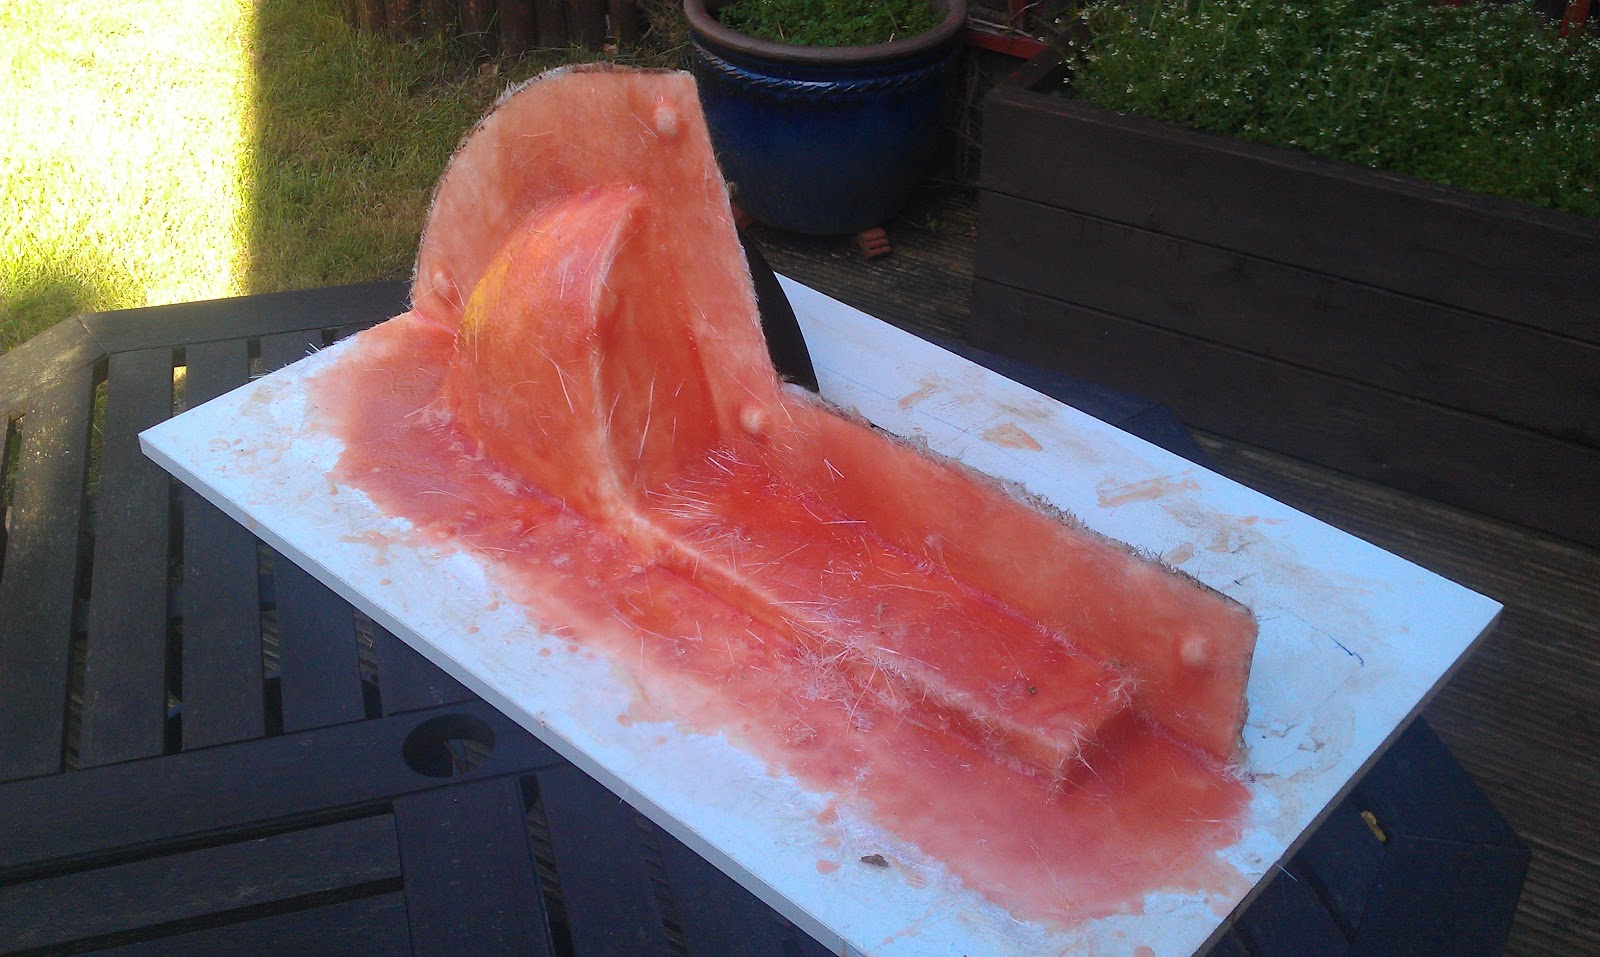

Once the first side has set, the centre plate can be removed and the other side of the buck can be waxed and sprayed with hairspray, the gel coats and the fibre glassed layed up as before.


one the mould has set you can seperate both side from the buck and clean both sides up.

To clean the mould i used hot soapy water, then wet sanded it down with 600 grit to removed any lumps and bumps, its then time to put it back together, i used bolts through the flange to hold the mould together. It is also wise to wax and hair spray the flange before putting it back together to ensure that it will seperate properly later on.


 u
u
I layed up about 6 layers of glass fibre for this component. Once it has cured, I think i had left it around 2 hours you can sperate the mould and release the seat.! You will need to clean it up and remove the excess material but you should end up with something like this.


This seat is extremely light it weighs around 900g that a weight saving of 3kg over the original!
Seat and tank on the bike. Its starting to look a little Cafe!


After getting the seat finished I started looking at how I
am going to fit a brake light... I probably should have looked into that
earlier!
After looking at a number of options, I decided that the
best look and finish would be to recess a light fitting into the back of the
seat. I went on eBay and found a 75mm round brake light from Land Rover
Defender. £3 later I had a brake light just the right size for the seat.
I didn’t take any photos of what happened next, but it
essentially involved using a 75mm hole saw to cut a hole in the back of the
seat, then creating a 75mm tube from cardboard, inserting through the hole to
create a former, and fibre glassing over it.
The results are below:


